Introduction:
In this blog post, we will go through the steps of diagnosing and repairing fuel pump relay problems. It is important to properly diagnose the issue before attempting any repairs, as a faulty fuel pump relay can lead to serious engine damage. Before starting any repairs, make sure your vehicle is in a safe and stable location and that you have the proper tools and equipment.
Step 1: Check the Fuel Pump Fuse
The first step in diagnosing fuel pump relay problems is to check the fuel pump fuse. This fuse is located in the fuse box, which is typically found under the hood or in the driver’s side kick panel. If the fuse is blown, it will need to be replaced before proceeding with further diagnosis.
Step 2: Check for Power at the Fuel Pump
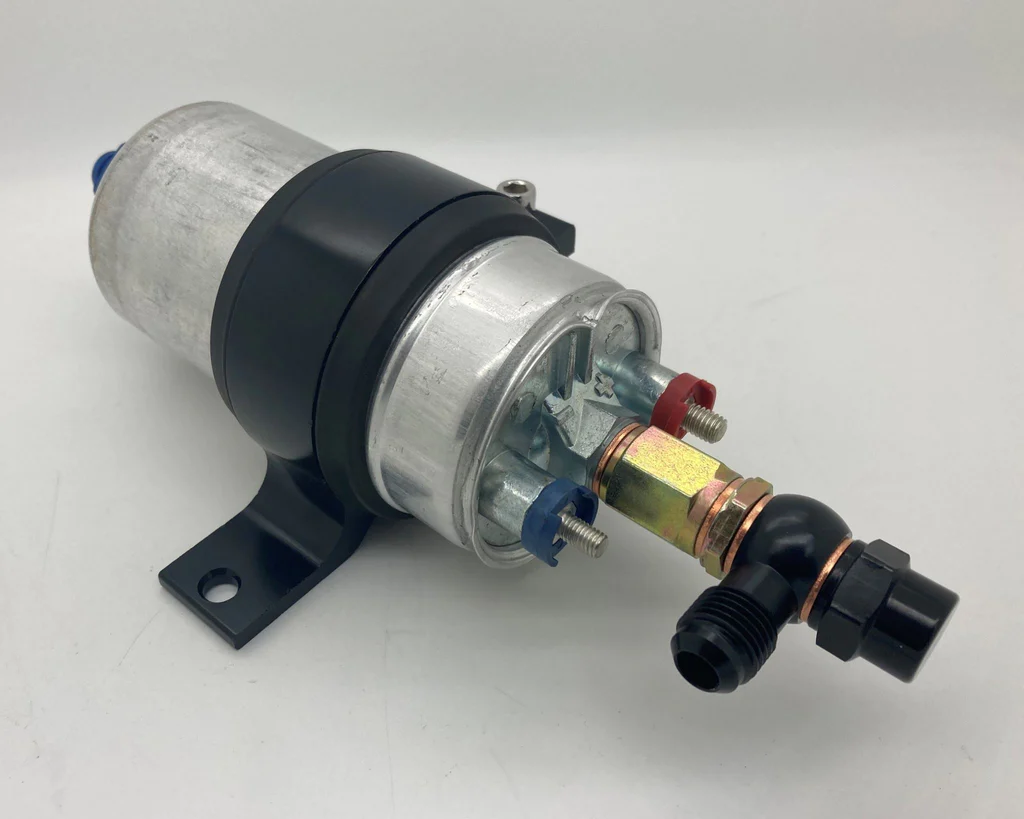
Once the fuse has been checked and replaced, if necessary, the next step is to check for power at the fuel pump. This can be done with a test light or multimeter. If there is no power at the fuel pump, the issue is likely with the fuel pump relay.
Step 3: Locate the Fuel Pump Relay
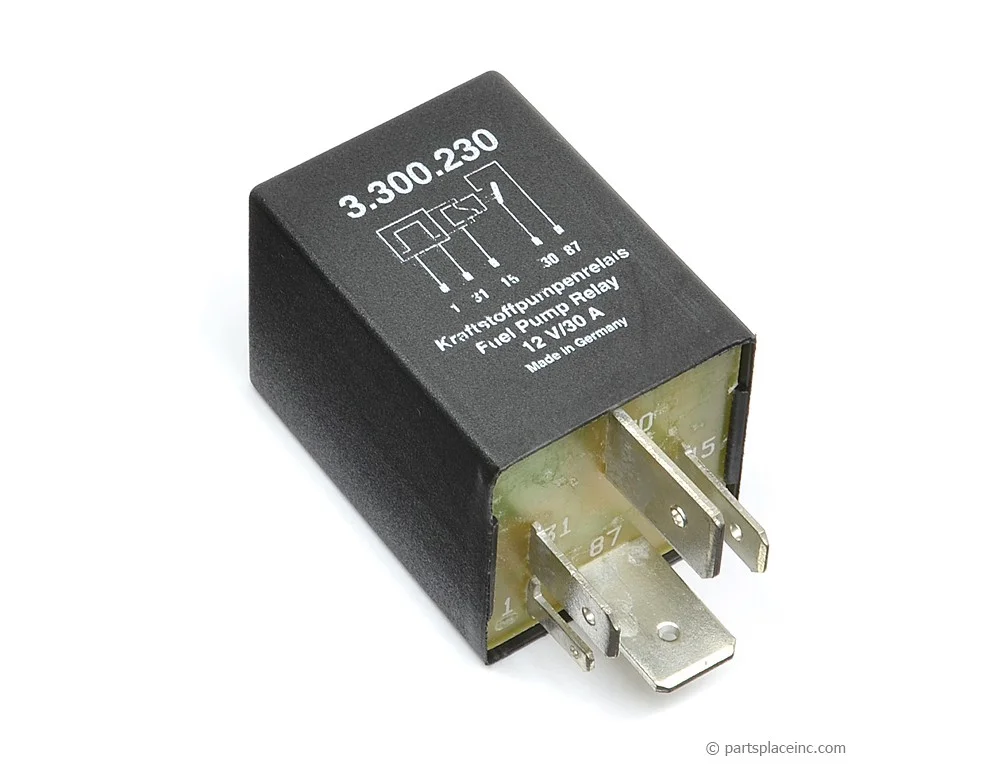
The fuel pump relay is typically located in the underhood fuse box or the power distribution center. Consult your vehicle’s service manual for the exact location of the relay. Once located, remove the relay and perform a visual inspection. If the relay is visibly damaged or corroded, it will need to be replaced.
Step 4: Test the Fuel Pump Relay
To test the fuel pump relay, use a test light or multimeter to check for continuity between the terminals. If there is no continuity, the relay will need to be replaced. Additionally, you can check for power and ground at the relay to ensure it is functioning properly.
Step 5: Replace the Fuel Pump Relay
If the fuel pump relay is found to be faulty, it will need to be replaced. To replace the relay, remove the old relay and install the new one in the same location. Make sure to properly connect all terminals and securely fasten the relay in place.
Step 6: Test the Fuel System
Once the fuel pump relay has been replaced, start the engine and check for proper fuel pressure. If the fuel pressure is within the specified range, the repair is complete. If the fuel pressure is still low, further diagnosis may be necessary.
Precautions:
- Always refer to your vehicle’s service manual for specific instructions and precautions.
- Always wear protective gear such as gloves and safety glasses when working on your vehicle
- Never smoke or have any open flames around gasoline
- Always properly ventilate the area when working on the fuel system.
Conclusion:
Diagnosing and repairing fuel pump relay problems can seem daunting, but with the proper knowledge and tools, it can be a relatively straightforward process. By following the steps outlined in this post, you can confidently diagnose and repair fuel pump relay issues and keep your vehicle running smoothly. Remember to always consult your vehicle’s service manual and take proper safety precautions when working on your vehicle.

