Introduction:
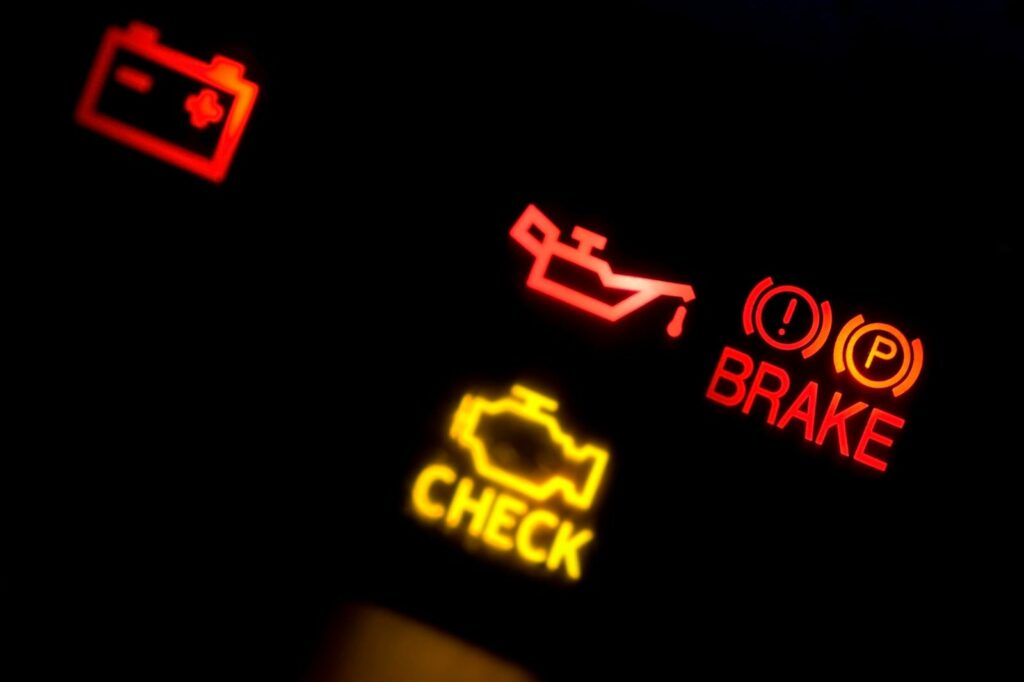
The Check Engine Light (CEL) is an important indicator in your vehicle. It alerts the driver that something is not right with the vehicle’s emissions or engine. In this post, we will go over the steps you can take to troubleshoot and fix the problem.
Step 1: Check the Gas Cap
The first step is to check the gas cap. A loose or missing gas cap can cause the CEL to turn on. Make sure the gas cap is tightened and properly sealed.
Step 2: Read the Code
The next step is to read the code that is causing the CEL to turn on. You can do this by using an OBD-II scanner, which can be purchased at an auto parts store. The scanner will show the code that is causing the CEL to turn on.
Step 3: Research the Code
Once you have the code, you can research the meaning of the code online. There are many websites that can provide you with information about the code and what it means.
Step 4: Fix the Problem
Based on the code, you can determine what the problem is and how to fix it. Some problems can be fixed easily, such as replacing a faulty sensor, while others may require more extensive repairs.
Step 5: Clear the Code
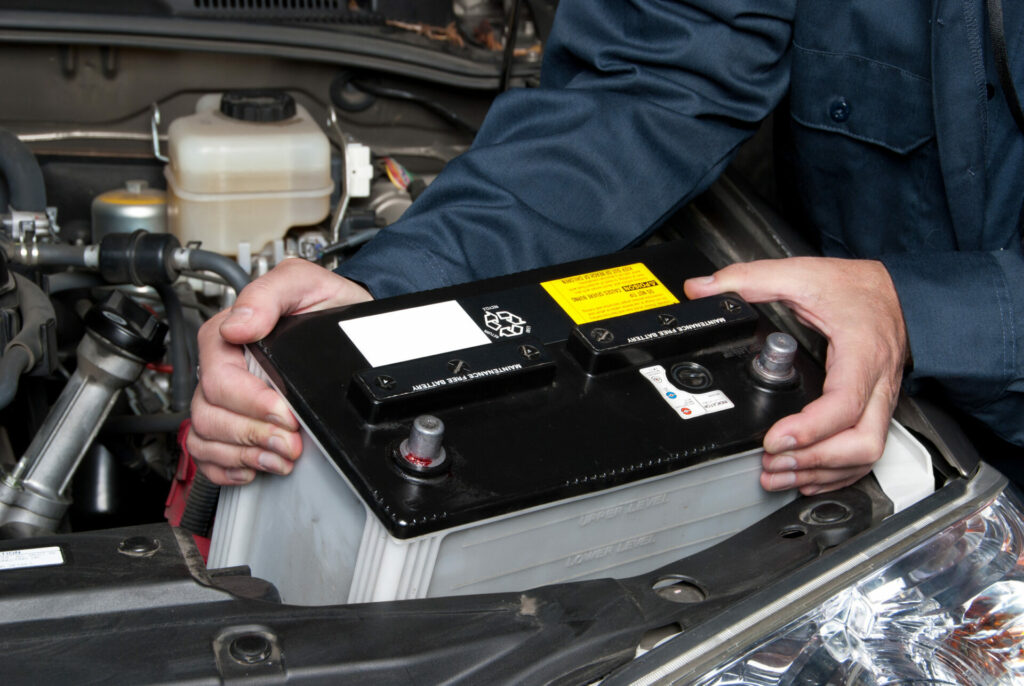
After the problem is fixed, you need to clear the code from the vehicle’s computer. This can be done by using the OBD-II scanner or by disconnecting the battery for a few minutes.
Precautions:
- Always consult your vehicle’s owner’s manual before attempting any repairs.
- If you are not comfortable with working on your vehicle, it is best to take it to a professional mechanic.
- Always wear safety glasses and gloves when working on your vehicle.
Conclusion:
The Check Engine Light is an important indicator in your vehicle. By following these steps, you can troubleshoot and fix the problem. Remember to always consult your vehicle’s owner’s manual and to take precautions when working on your vehicle.

